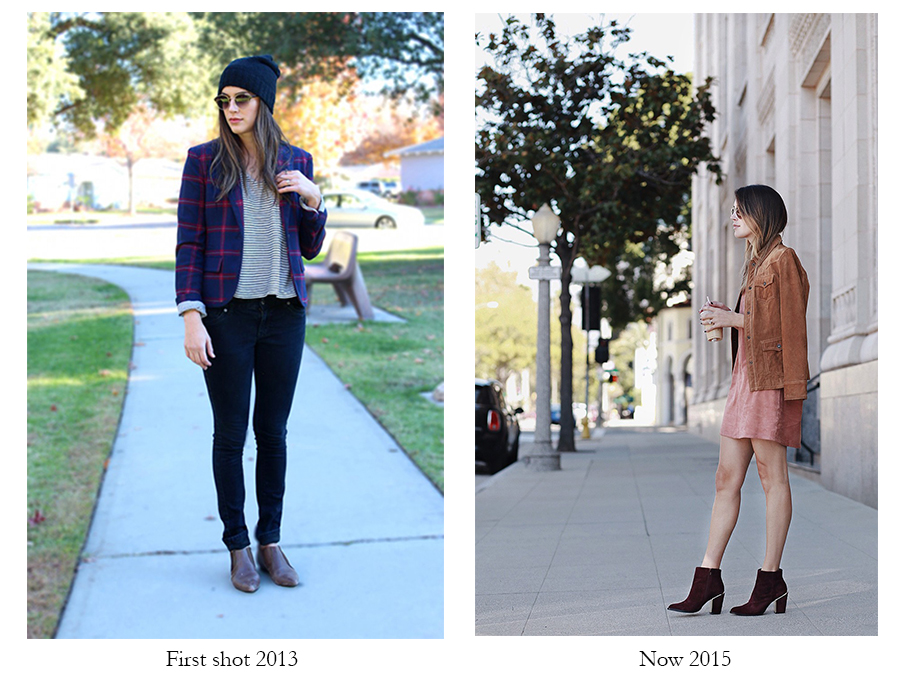
Photography Tips On Taking Your Blog Photos
As a follow up to last week’s FAQs… I thought it would be cool to let my husband (who takes all my blog photos) guest post this week about what he does on the regular in the photography department! As blog photography specifics are questions I get from you guys daily, I wanted to make sure this was a section I covered more in depth and lay it allll out. Here he is:
I’m in no way, shape or form a professional photographer…nor did I have any experience in photography before helping my wife start this blog.
All I had was an interest and a willingness to learn.
Aperture…what’s that? Shutter speed…not sure what was best. Why are my pictures so bright?…Why are they so dark? How can I get that blur in the background?? Ugh, pictures are blurry again!
These are all questions and issues I either had to Google, or really spend some hands-on quality time messing with the camera settings. I also read and watched numerous photography tutorials…what better way to learn right?
It’s been quite the journey and such a fun learning experience. And yes, having a quality DSLR will improve your picture quality…but the tools are only as effective as the person who uses them.

Equipment We Use
Camera
I currently use a Canon 6D. The first 6 months we used a Canon Rebel T3i.
I highly recommend starting out with a “beginner” DSLR for a few reasons:
– Low cost (roughly anywhere from $300-$700)
– A great platform to learn the techniques and settings
– Minimal investment (Not stuck with a $2,000+ DSLR if you decide to quit blogging or photography within months)
When we first started the blog, I had no idea where it was going to take us or how long we were going to do it for. The Rebel T3i was perfect for me to learn the settings, get comfortable with the camera and not have to fork out a ton of cash.
Lens
I could spend a pretty penny on camera lenses! I would spend hours looking through Canon’s website trying to figure out which lens would fit the type of shot I was trying to achieve. Two of my favorites and most used lenses are:
1. Canon EF 85mm f/1.8 – I, by far, use this lens more than any other. Pictures are crisp, provides an awesome bokeh (aka blurry background) and quick focusing for street action shots. Best of all, extremely affordable (around $330)
What I will upgrade to later in the year – Canon EF 85mm f/1.2 II USM – I’ve had my eye on this lens for a while, but have been debating back and forth on whether to upgrade my camera body or the lens…decisions decisions!
2. Canon EF 50mm f/1.8 – There are some locations where I am unable to provide enough space between myself and Brittany to get the shot I’m looking for. That’s where the 50mm comes in. It provides me with a wider shot without having to step too far back.
Both of these are fixed lenses…which means they are not able to zoom in and out.
Best Times To Shoot
This is all based on personal preference, but I like to shoot at either dusk or dawn.
Dawn
The light seems to provide me with muted colors and easier to shoot in locations that are typically highly trafficked with people. Aka Brittany won’t get hit by a car when I tell her to run across the street (no but really).
Dusk
I get more vibrant deep colors and the sun is less harsh.
I don’t mind shooting in either time. Typically it’s been dusk, as we would need to wake up extremely early for dawn and we are both night owls.
Honestly, you can shoot during anytime of the day…but I find that the sun is too strong and it creates lighting issues. If we were to shoot during the day, it would typically be in the city were shade is abundant and we can go by tall buildings.
Finding the Perfect Location
To me, whether we are shooting for the blog or just taking a simple Instagram picture (ha! no such thing… not as simple as it looks lol), I feel the location is just as important as the outfit itself.
It’s the overall vibe and feel between the connection of the outfit and the environment it’s in.
As we were first starting out, this was probably the biggest hassle. We would drive around trying to find the “perfect spot”, while at the same time the sun was slowly setting…as you could imagine trying to beat the clock and getting a little frustrated with each other on our lack of planning skills. Especially because we first started the blog in December with the sun setting pretty early which made it difficult to fit shoots in after I got home from work.
Why didn’t we think about this yesterday? The sun is going down, we are running out of light!
We have since then evolved (thank goodness!) and have utilized an effective planning strategy for each week.
Over time, we have categorized each location by putting an example shot/look within folders based on:
– city
– time of day
– color
– characteristic ( ex. tall brick wall, great depth of field, palm trees)
So based on the looks we have planned for the following week, we would match the outfit that would best compliment the location.
Before we even step inside the car; we know exactly where to go for each outfit, the time optimal to be there, and which angle shots to go for. This has dramatically improved the time it takes to shoot looks while also removing the stress in not knowing where to go and how to shot for the location.
Your Thoughts
This post could have been considerably longer…touching on subjects such as editing tools, camera settings, etc.
But before I get into all of that, I want to make sure it is something you guys want to read and find useful.
So let me know in the comments below on what you would like to learn regarding anything photography related. Whether it is how to edit photos, getting to know and utilize your camera settings, how to really understand lighting techniques…Anything! I am open to any suggestions and would love to dive deeper into these subjects.
Have a great week! – Anthony
